本文摘自php中文网,作者巴扎黑,侵删。
这篇文章主要介绍了Python中with及contextlib的用法,结合实例形式较为详细的分析了with及contextlib的功能、使用方法与相关注意事项,需要的朋友可以参考下本文实例讲述了Python中with及contextlib的用法。分享给大家供大家参考,具体如下:
平常Coding过程中,经常使用到的with场景是(打开文件进行文件处理,然后隐式地执行了文件句柄的关闭,同样适合socket之类的,这些类都提供了对with的支持):
1 2 | with file('test.py','r') as f :
print f.readline()
|
with的作用,类似try...finally...,提供一种上下文机制,要应用with语句的类,其内部必须提供两个内置函数__enter__以及__exit__。前者在主体代码执行前执行,后则在主体代码执行后执行。as后面的变量,是在__enter__函数中返回的。通过下面这个代码片段以及注释说明,可以清晰明白__enter__与__exit__的用法:
1 2 3 4 5 6 7 8 9 10 11 12 13 14 15 16 17 18 19 20 21 22 23 24 | class echo :
def output(self) :
print 'hello world'
def __enter__(self):
print 'enter'
return self
def __exit__(self, exception_type, exception_value, exception_traceback):
print 'exit'
if exception_type == ValueError :
return True
else:
return False
with echo() as e:
e.output()
print 'do something inside'
print '-----------'
with echo() as e:
raise ValueError('value error')
print '-----------'
with echo() as e:
raise Exception('can not detect')
|
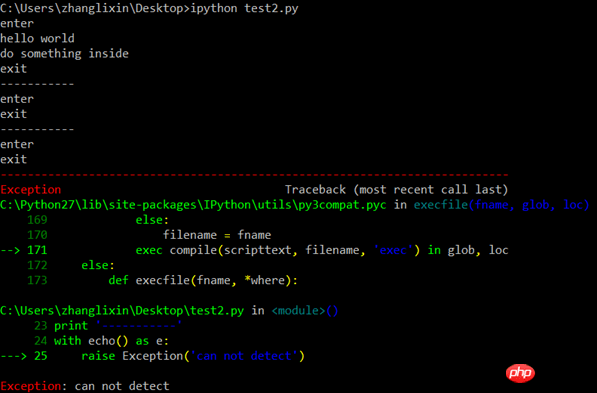
运行结果:
contextlib是为了加强with语句,提供上下文机制的模块,它是通过Generator实现的。通过定义类以及写__enter__和__exit__来进行上下文管理虽然不难,但是很繁琐。contextlib中的contextmanager作为装饰器来提供一种针对函数级别的上下文管理机制。常用框架如下:
1 2 3 4 5 6 7 8 9 10 11 12 | from contextlib import contextmanager
@contextmanager
def make_context() :
print 'enter'
try :
yield {}
except RuntimeError, err :
print 'error' , err
finally :
print 'exit'
with make_context() as value :
print value
|
contextlib还有连个重要的东西,一个是nested,一个是closing,前者用于创建嵌套的上下文,后则用于帮你执行定义好的close函数。但是nested已经过时了,因为with已经可以通过多个上下文的直接嵌套了。下面是一个例子:
1 2 3 4 5 6 7 8 9 10 11 12 13 14 15 16 17 18 19 20 21 | from contextlib import contextmanager
from contextlib import nested
from contextlib import closing
@contextmanager
def make_context(name) :
print 'enter', name
yield name
print 'exit', name
with nested(make_context('A'), make_context('B')) as (a, b) :
print a
print b
with make_context('A') as a, make_context('B') as b :
print a
print b
class Door(object) :
def open(self) :
print 'Door is opened'
def close(self) :
print 'Door is closed'
with closing(Door()) as door :
door.open()
|
运行结果:

总结:python有很多强大的特性,由于我们平常总习惯于之前C++或java的一些编程习惯,时常忽略这些好的机制。因此,要学会使用这些python特性,让我们写的python程序更像是python。
以上就是Python基础教程之with、contextlib的实例用法详解的详细内容,更多文章请关注木庄网络博客!!
相关阅读 >>
Python print 按逗号或空格分隔的方法
Python怎么升序和降序排序
Python限制循环次数的方法
win10怎么下载Python
笔记之 Python正则表达式
Python中函数的全面总结(附实例)
Python基于time模块求程序运行时间的方法
一起看看Python常用字符串及其操作
如何在循环中获取索引(数组下标)
Python模块的编写与使用(实例解析)
更多相关阅读请进入《Python》频道 >>

人民邮电出版社
python入门书籍,非常畅销,超高好评,python官方公认好书。
转载请注明出处:木庄网络博客 » Python基础教程之with、contextlib的实例用法详解


